

This article details how to configure Microsoft Entra ID (formerly Azure Active Directory) as the primary Identity Provider to facilitate SSO with Debricked. For details regarding integration with other Identity Providers, see Set up Single Sign On (SSO) for Debricked.
Registering a new Microsoft Entra ID Application
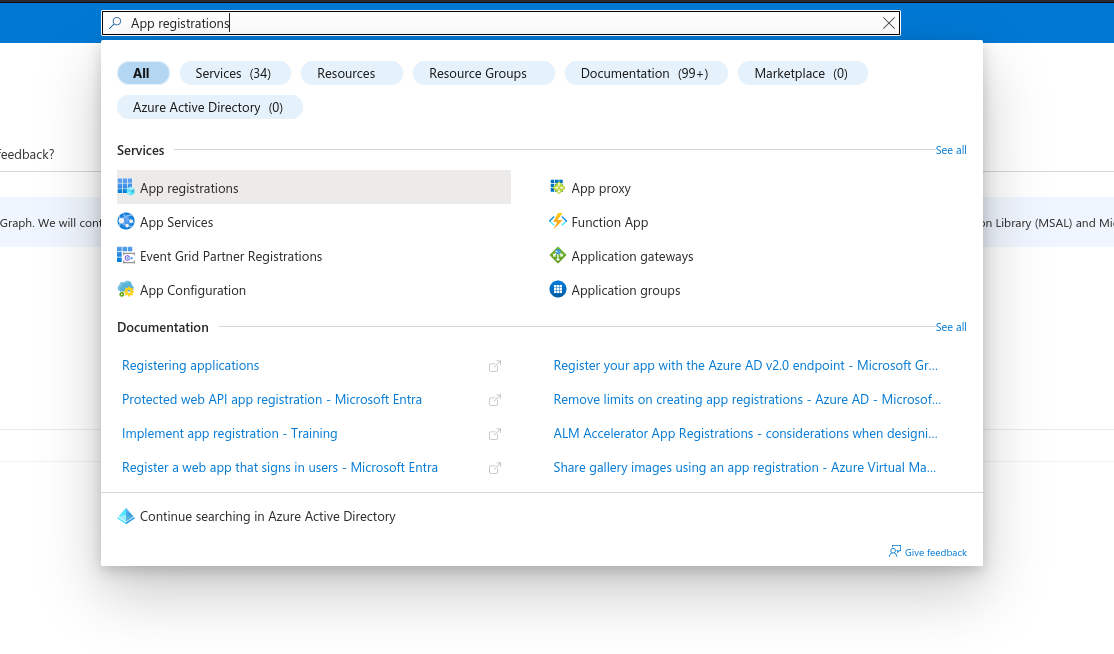
- Search for App registrations
- Click on New registration. We suggest you name your application “Debricked”, but it is not mandatory.
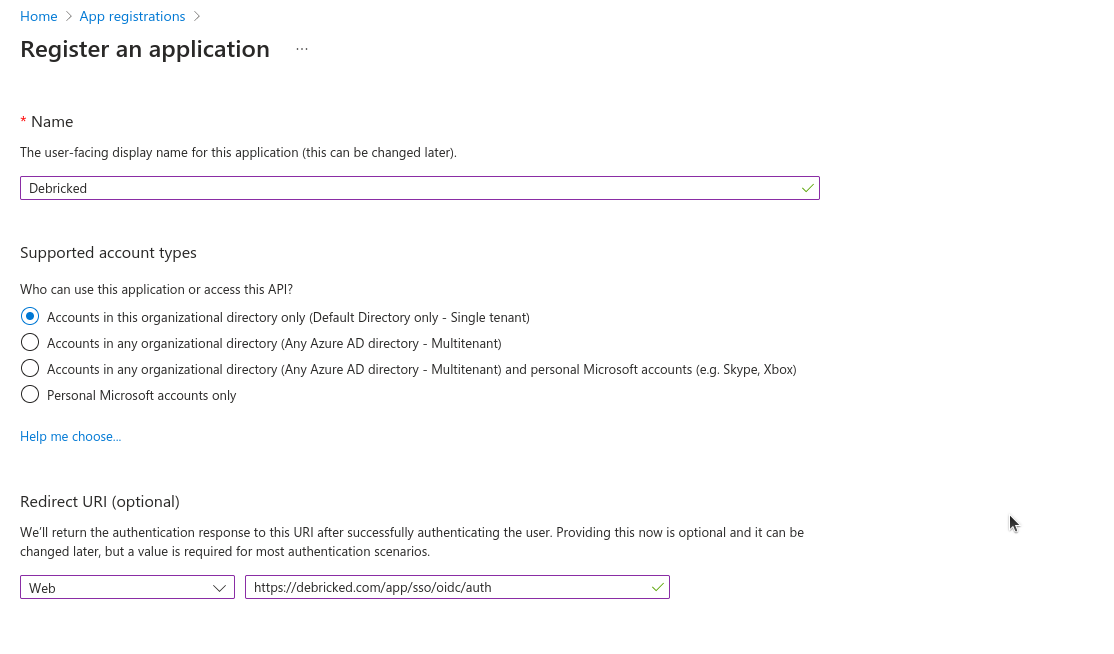
- In the Redirect URI section select Web as type of application and enter:
https://debricked.com/app/sso/oidc/auth
- Confirm the details and proceed to the next step.
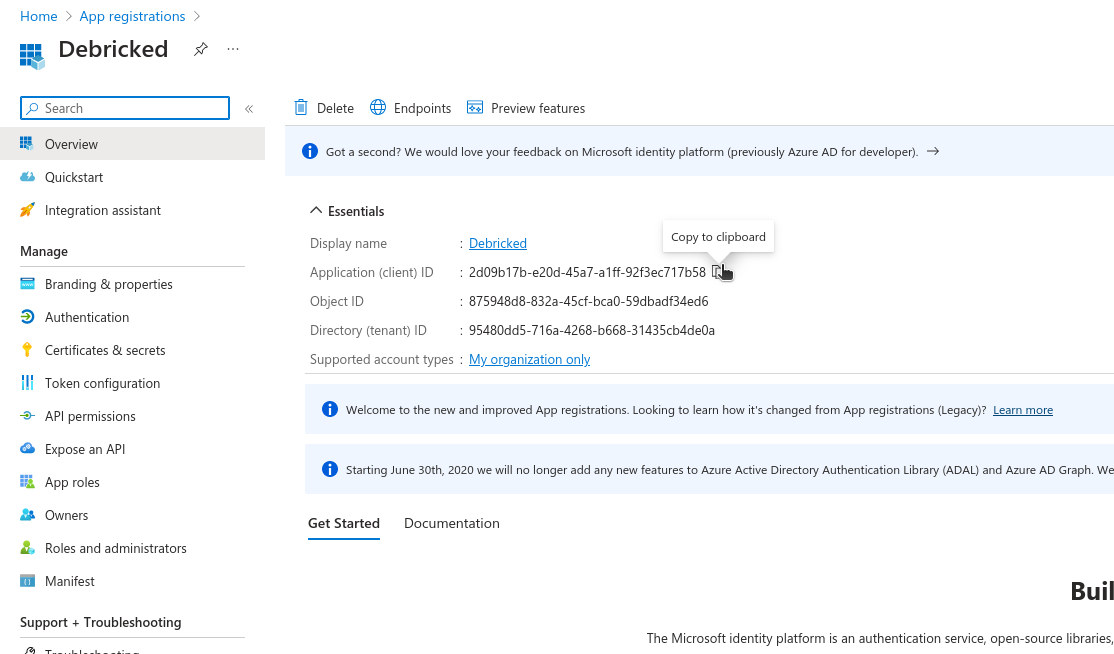
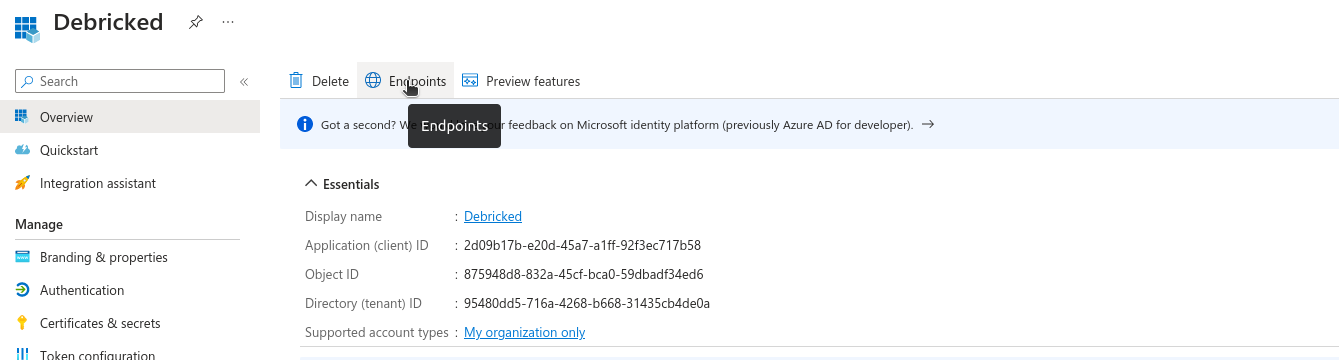
Getting the ClientID
You can find the Client ID from the Overview section, the first page you will see after creating the application.
Creating the Client Secret
- On the sidebar, click on Certificates & secrets.
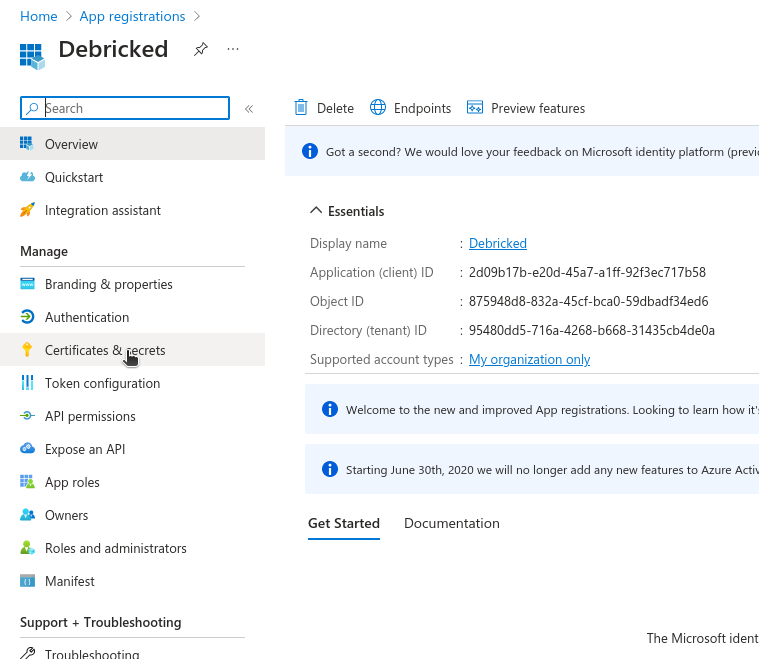
- Click New client secret and choose a name and expiration date. When it’s created make sure to copy and store somewhere, as it will only be visible once.

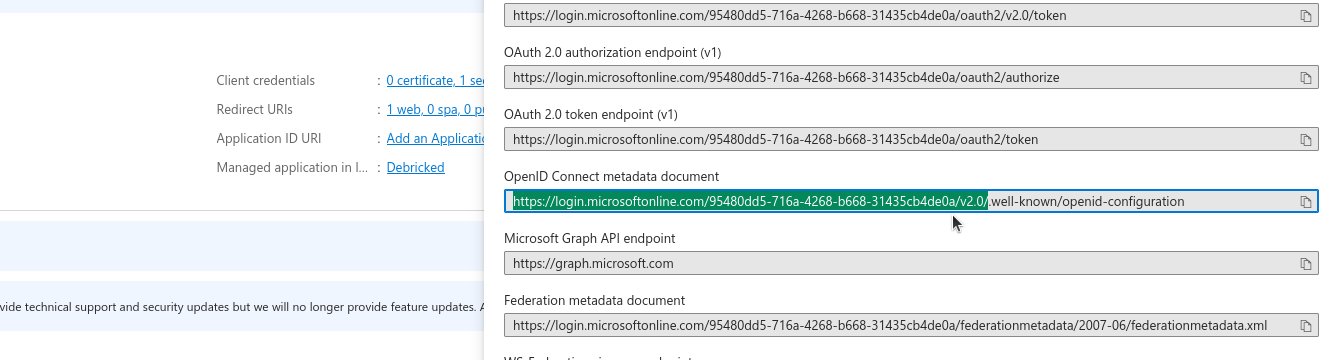
Getting the OIDC metadata endpoint (Issuer URL)
This is needed for Debricked to know where to redirect the user, fetching credentials tokens and fetching user information.
- Go back to the Overview from the sidebar and click on the Endpoints tab.
- The one needed is called the OpenID Connect metadata document.
Communicating the data with Debricked
To complete the integration we will require the following the following information::
- Issuer URL (the URL used to fetch OIDC information)
- Email Domains (the email domains which will be designated to your organization)
- Client ID (identifier of the Debricked integration)
- Client secret (secret to authorize the integration, also provided when installing the integration in your IdP)
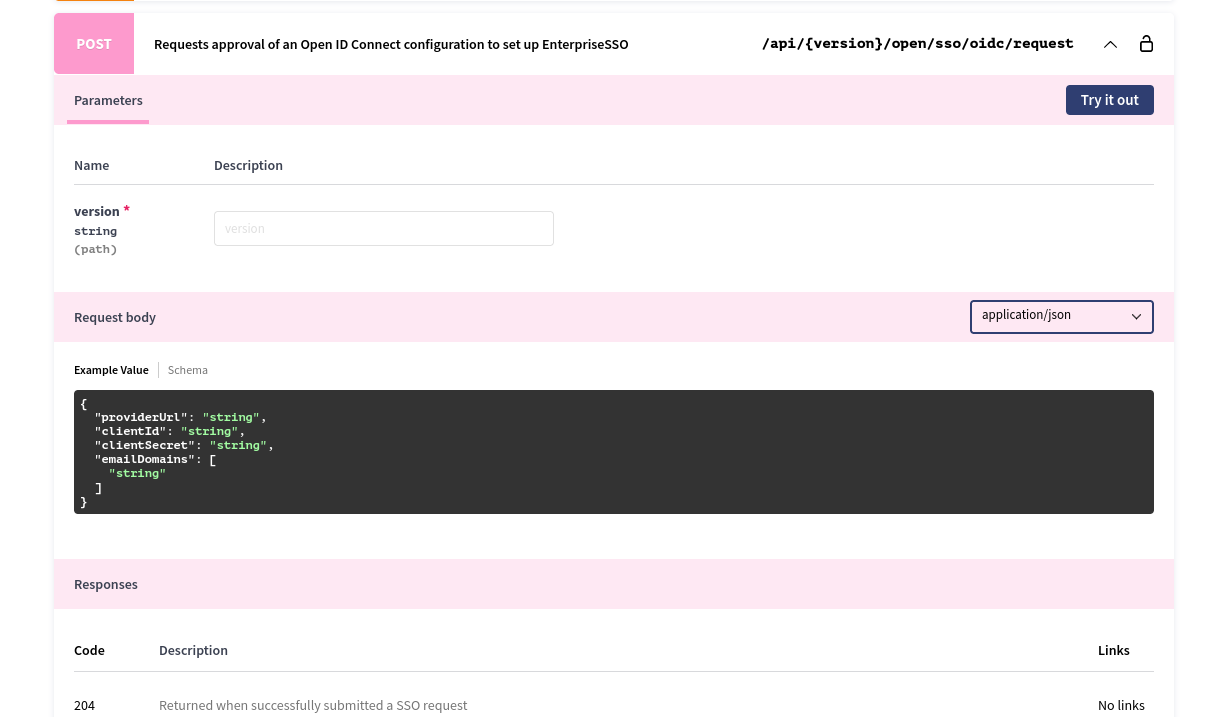
You can forward it to us by either:
- getting in touch with our support team at support@debricked.com
- submitting the configuration data through an API endpoint at https://debricked.com/api/1.0/open/sso/oidc/request
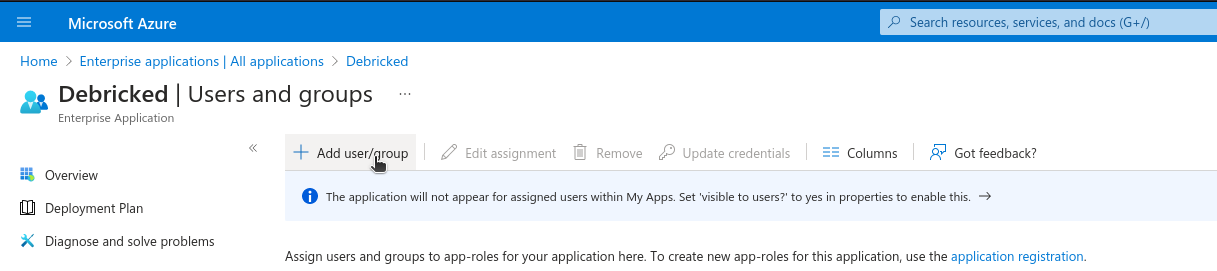
Adding users
Note that in order for your users to be able to use this application you will need to assign them to the new application you have added.
- Go to Enterprise applications.
- Click on your Debricked application and then go to Users and groups. Here you will be able to assign users and user groups.
- Once your users are added they can direct log in from https://debricked.com/app/sso/login
You can also invite them from Debricked (note that they must be assigned to the application on your vendor side) from your Admin Tools. This invite will be a special “SSO invite” which will redirect them to your Identity Provider and let them log in to Debricked.
Testing the set up
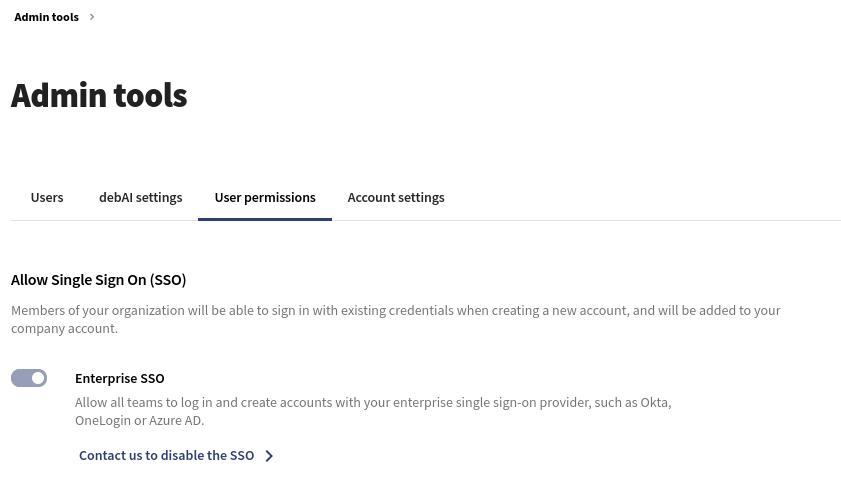
Once your integration has been added to your enterprise account, you can confirm it on the Debricked service by visiting the User Permissions tab in Admin Tools.
You can head over to https://debricked.com/app/sso/login, input the enterprise email (with the same email domain which you submitted), and you will be redirected to your Identity Provider to authenticate. After logging in you will be redirected and logged into Debricked.